Goals - Employee Instructions
Access Goal Plan and Add a Goal
- Log in to MyTalent with your KU online ID and password.
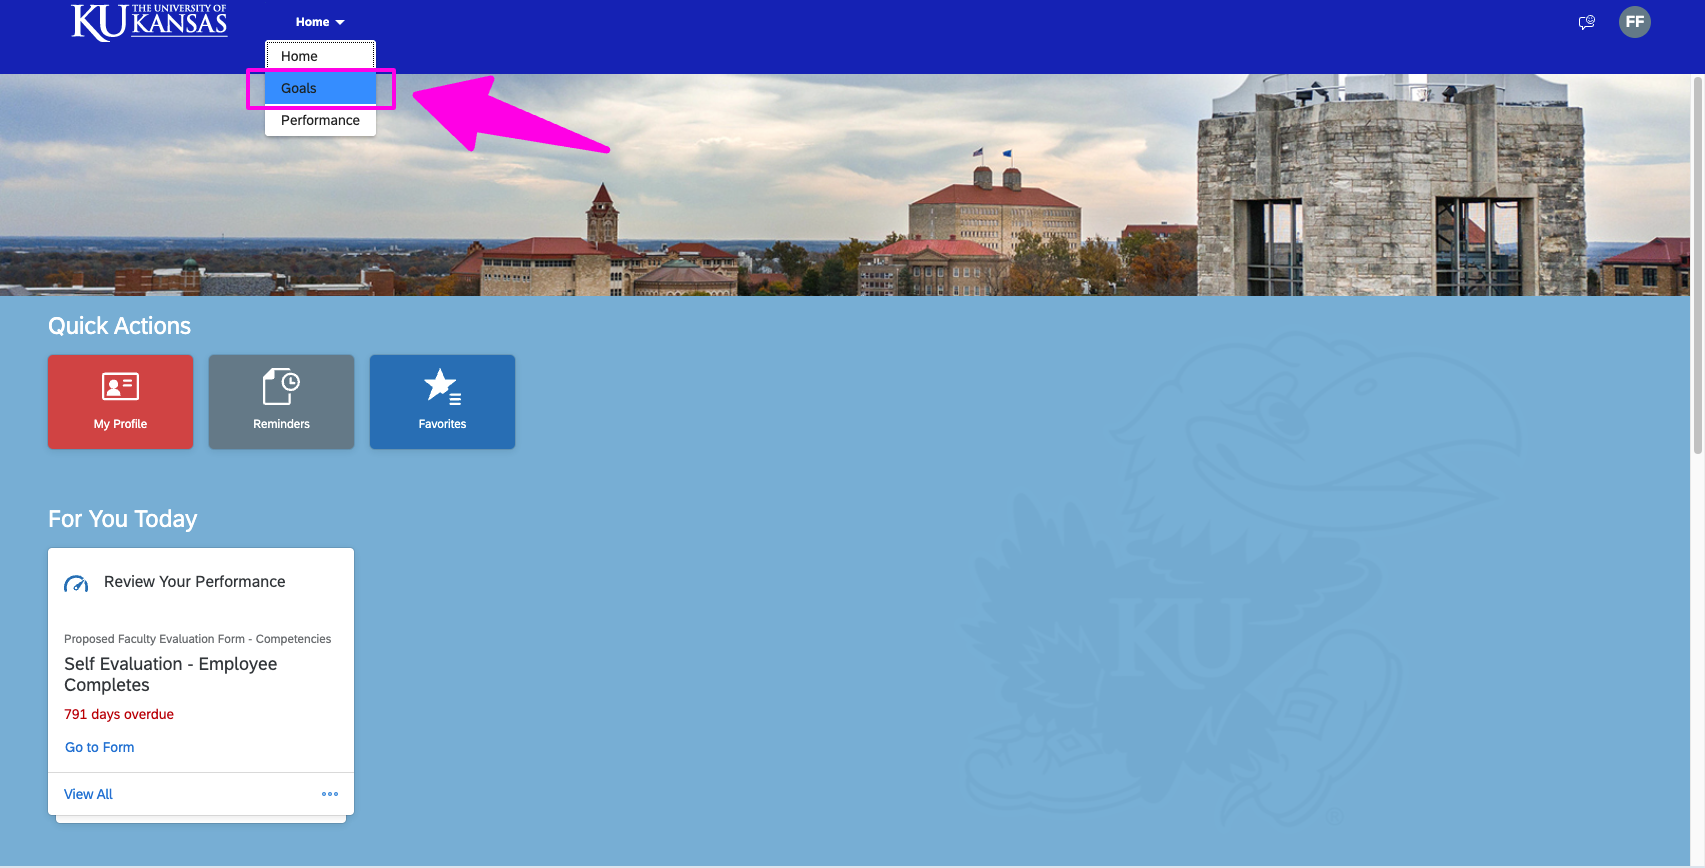
- You can access your Goal Plan via one of two options:
- Option 1: Select Goals in the "Performance" section Select Goals in Performance section of homepage
- Option 2: Select Home in the top-left to open dropdown menu. Then, select Goals Select Home then 'Goals' in the top-left
- From there you will arrive at your Goal Plan.
- Add a goal using the options that follow in the below instructions by clicking Create Goal.cCareSelect 'Library Goal
Add Your Own Custom Goal Via "Create From Scratch"
- Click Create Goal
- Click Create from Scratch
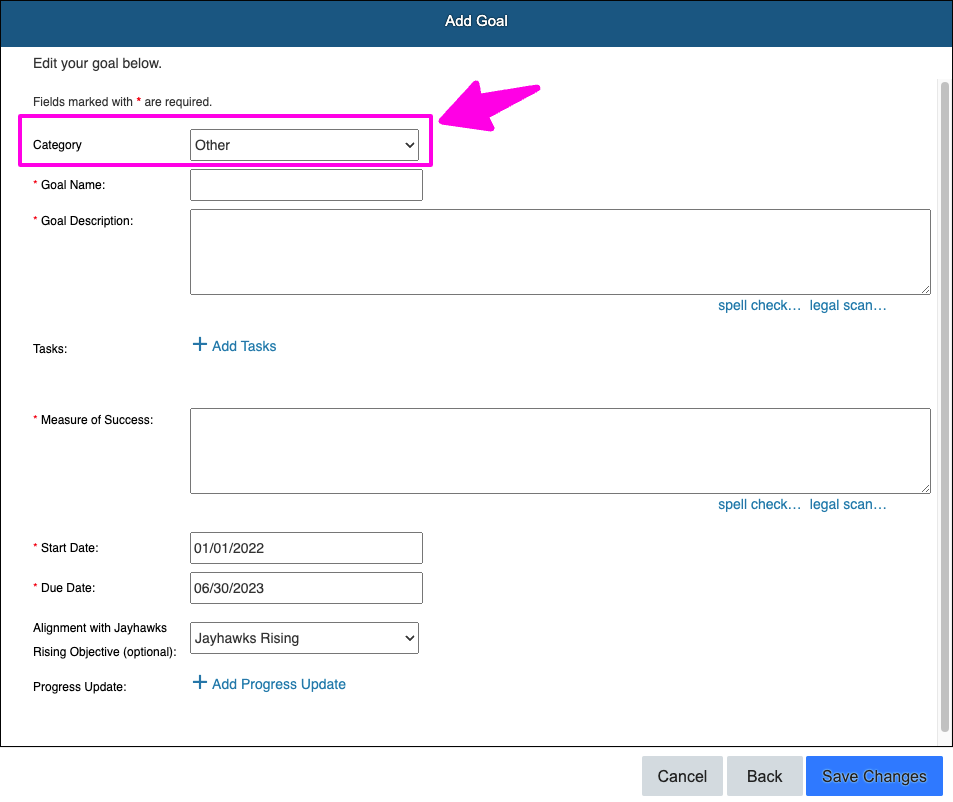
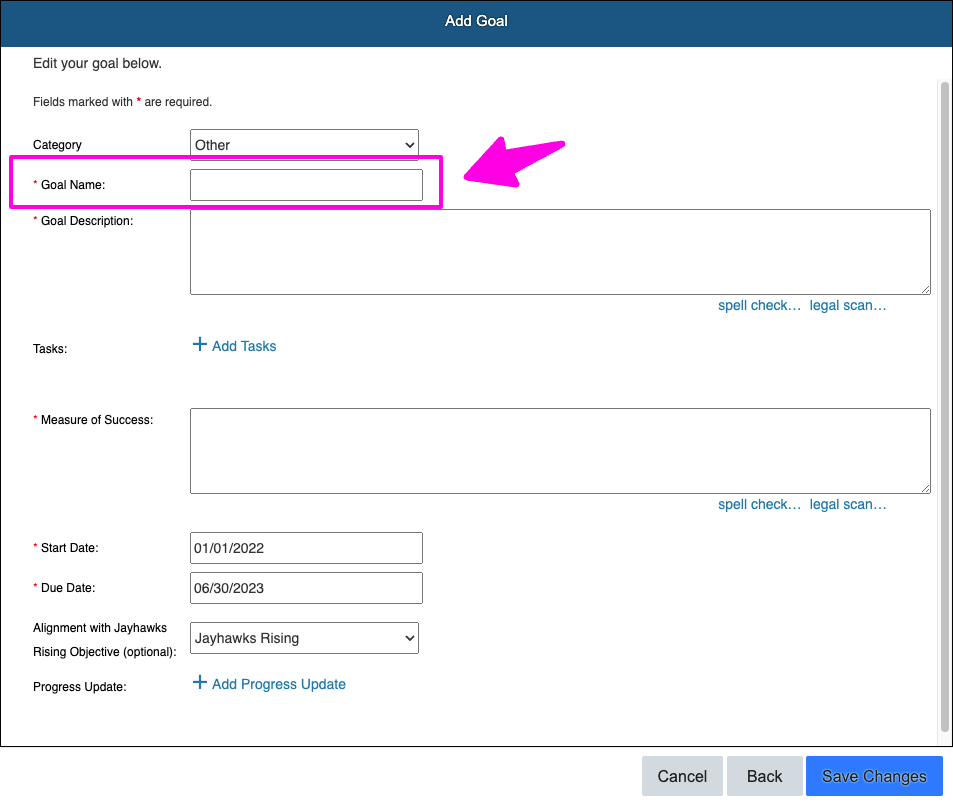
- Enter a Goal Name (i.e., brief description goal title)
Select the Category (i.e., Employee Goals or Professional Development Goal)Select the Category
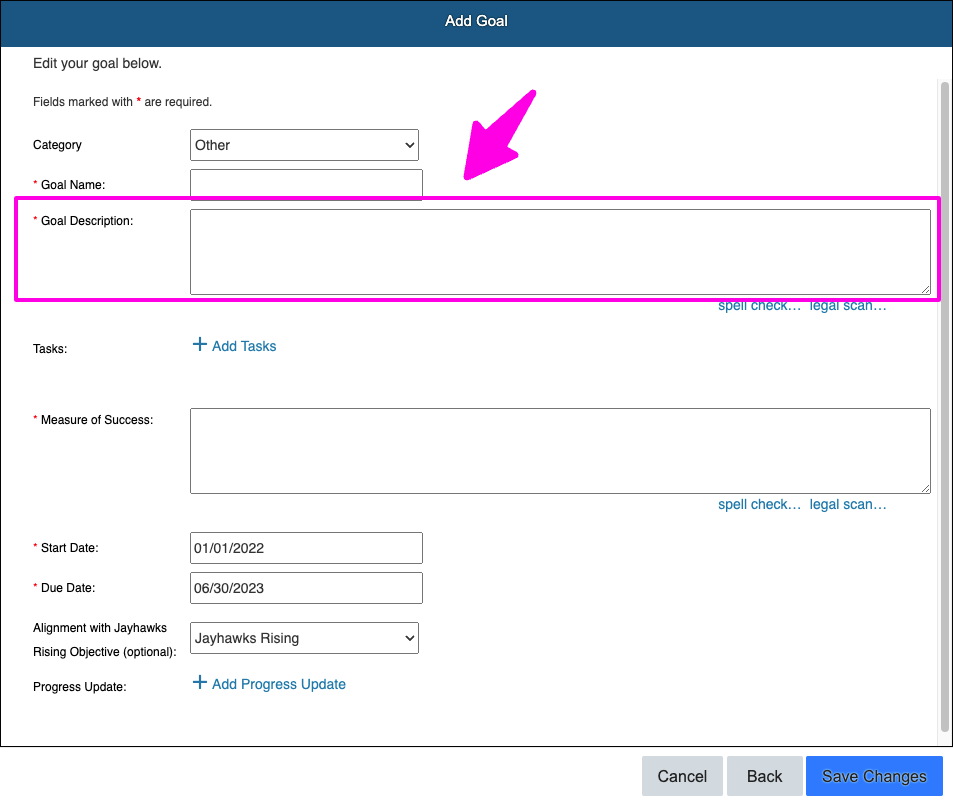
Enter your Goal Description nter your Goal Description
- Description should be concise but detailed.
- Recommend using the SMART technique (i.e., goals that are: Specific, Measurable, Attainable, Realistic, Timely).
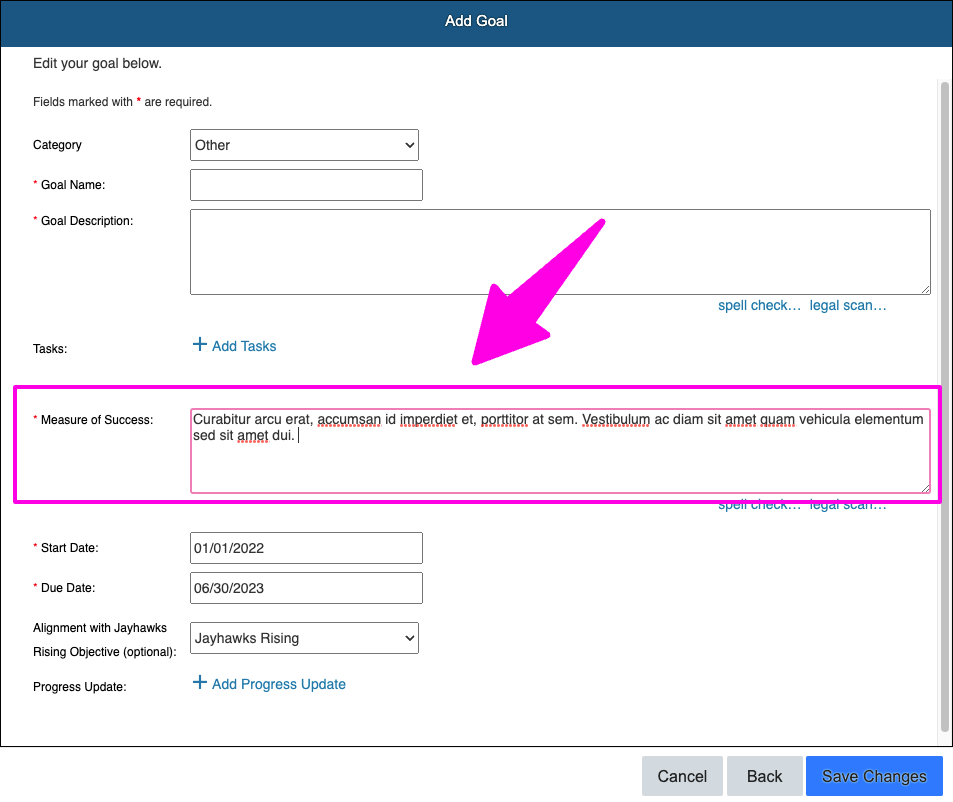
- Enter the Measure of Success (i.e., how the success of the goal will be measured). nter the Measure of Succes
- Remember the SMART technique when establishing the measure of success. You may choose to reference Best Practices in Goal Setting.
- Enter the Start Date and End Date for the goal in the required format (MM/DD/YYYY)
- If you so choose, you can enter a Progress Update, but clicking Add Row and filling in the date and comment section.ptionalEnter start and end dates
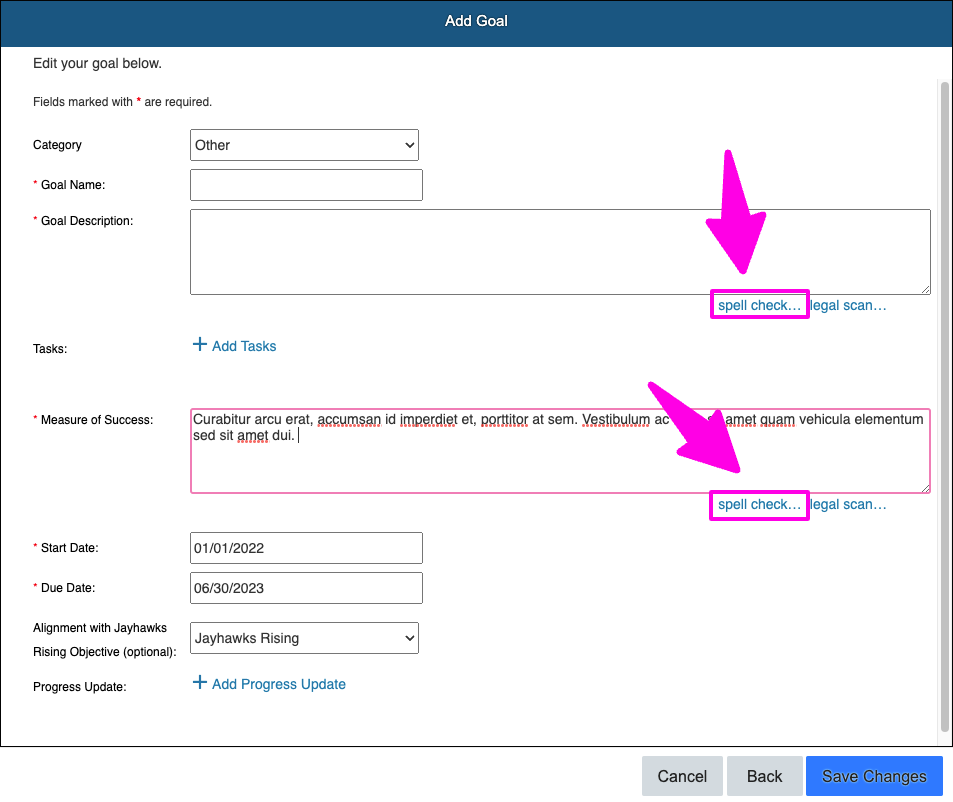
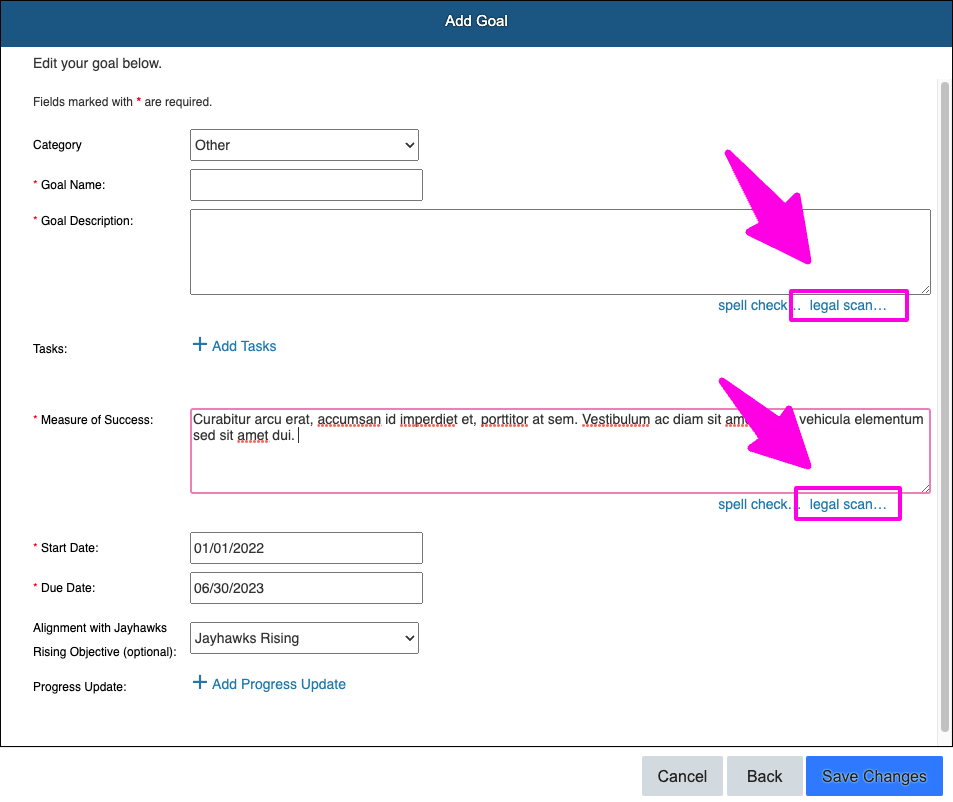
- kpell check o(Optional) Select legal scan in any of the text fields to have the language reviewed for suggested changes
- Click the drop down under Goal Progress to choose where you are with the goal
- Click the drop down under Jayhawks Rising to choose the appropriate strategic alignment for that goal.Legal scan option
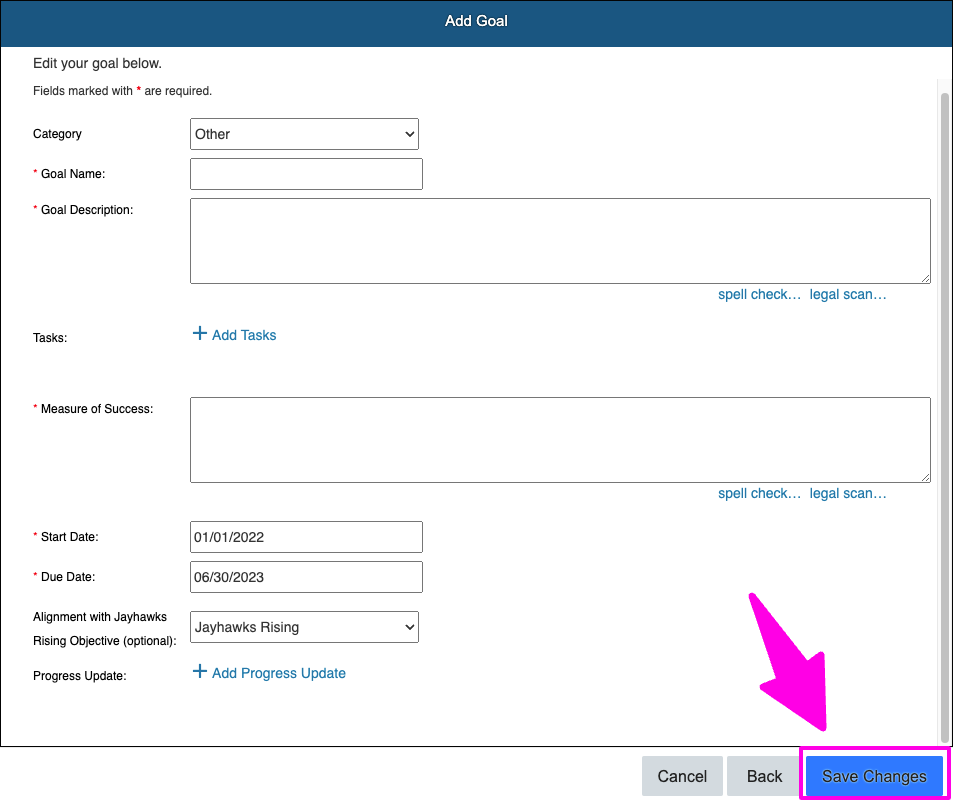
- Select Save Changes to save the goal to the goal plan Save changes
Add Pre-Existing Goal Via "Library Goal"
- Click Create Goal
- Click Create from Library
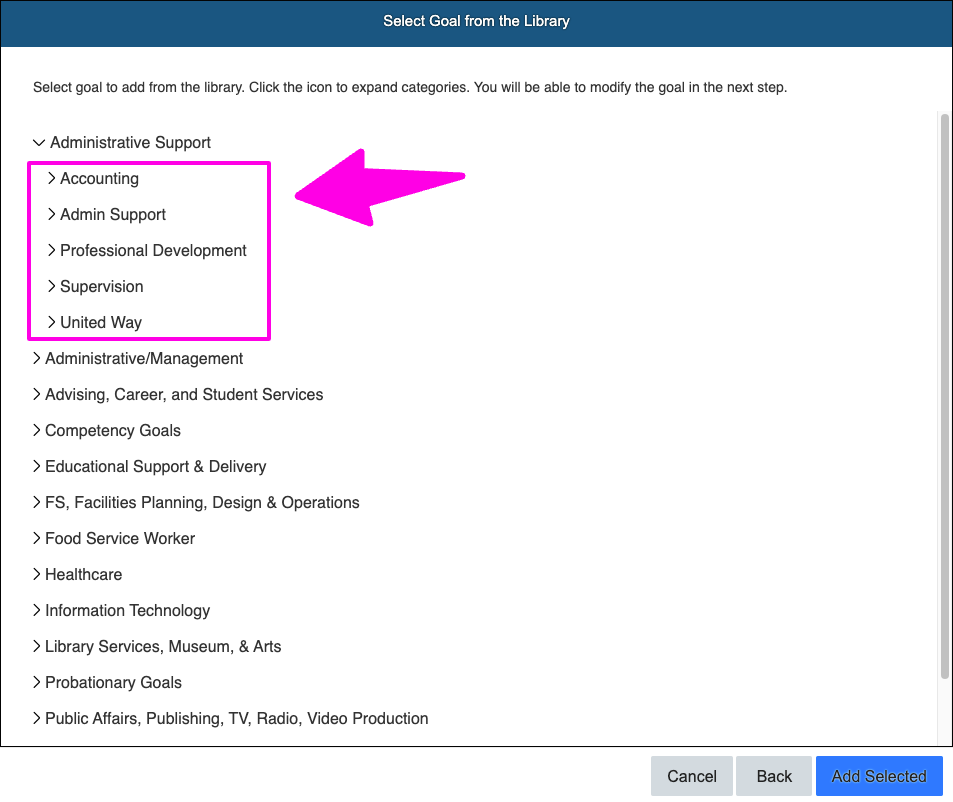
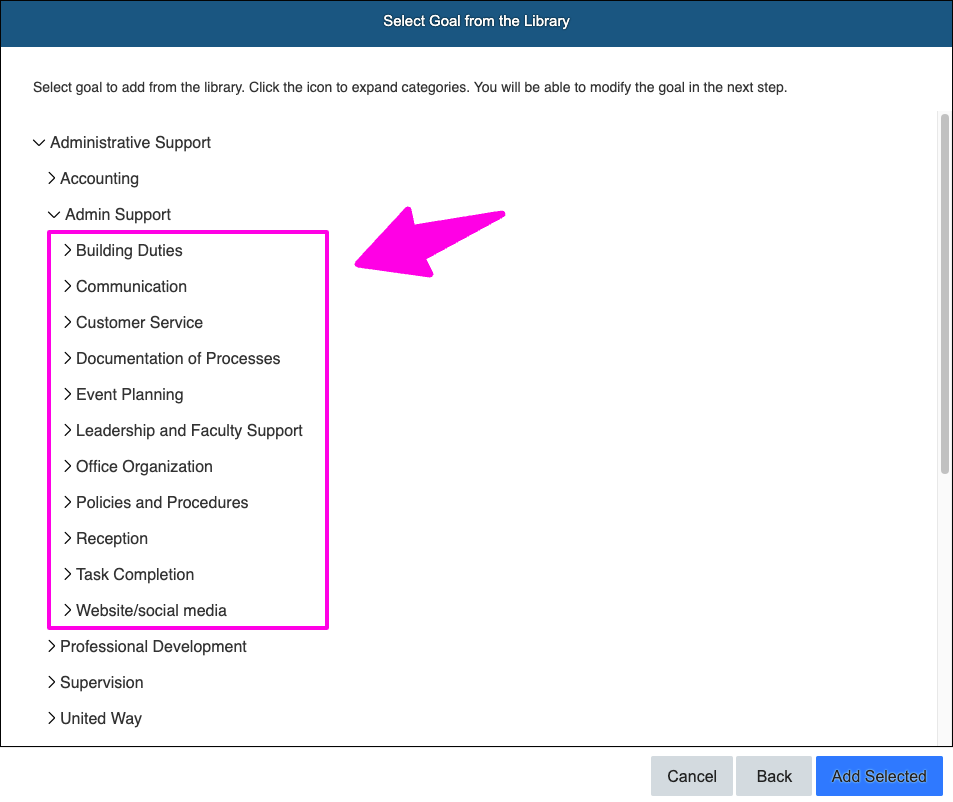
- BrowSelect the categoryBrowse for goals using the available Categories and sub-Categories.
Select a Goal by selecting the checkbox to the left of the Goal Name and click Next.Select the sub-category
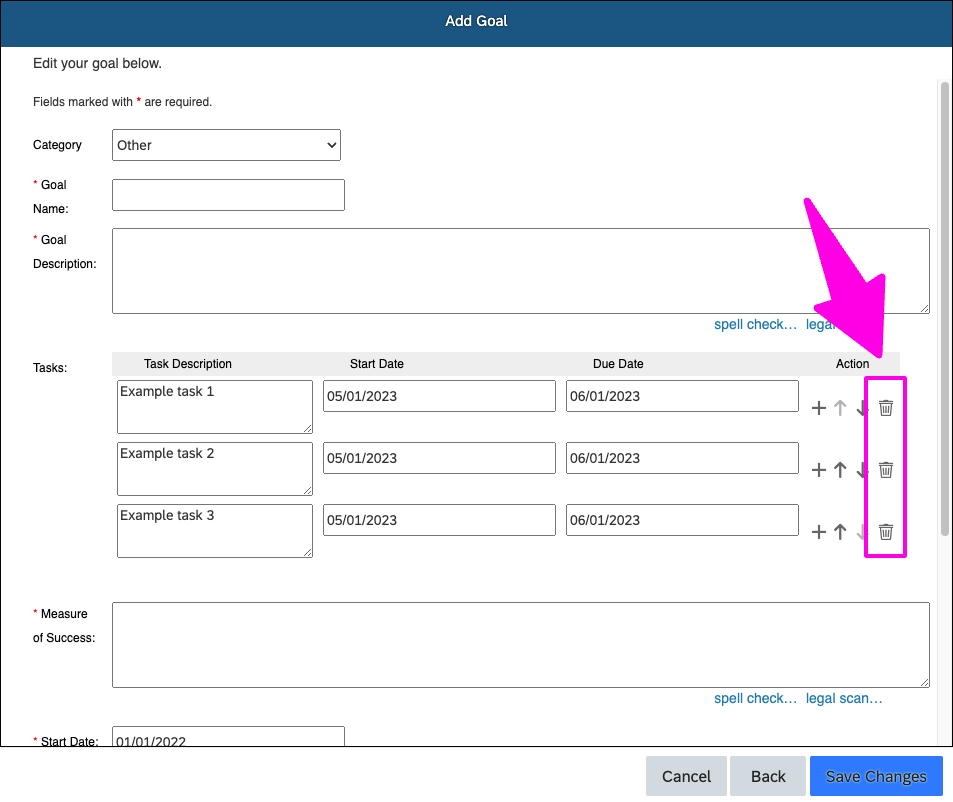
- After selecting the Goal Name, you will see the pencil icon which gives you the option to edit the goal. Columns for Goal Name and Measure of Success
- On the next screen, notice that the Goal Name, Goal Description and Measure of Success are pre-filled from the Goal Library. Please edit those fields to meet your needs for the goal. Select red X to delete tasks
- Enter the Start Date and End Date for the goal in the required format (MM/DD/YYYY)Spell check option
- (Optional) Select legal scan in any of the text fields to have the language reviewed for suggested changes
- Click Next (twice)Legal scan option
- Select Save to save the goal to the goal plan Select 'Save Changes'
Copy Goals
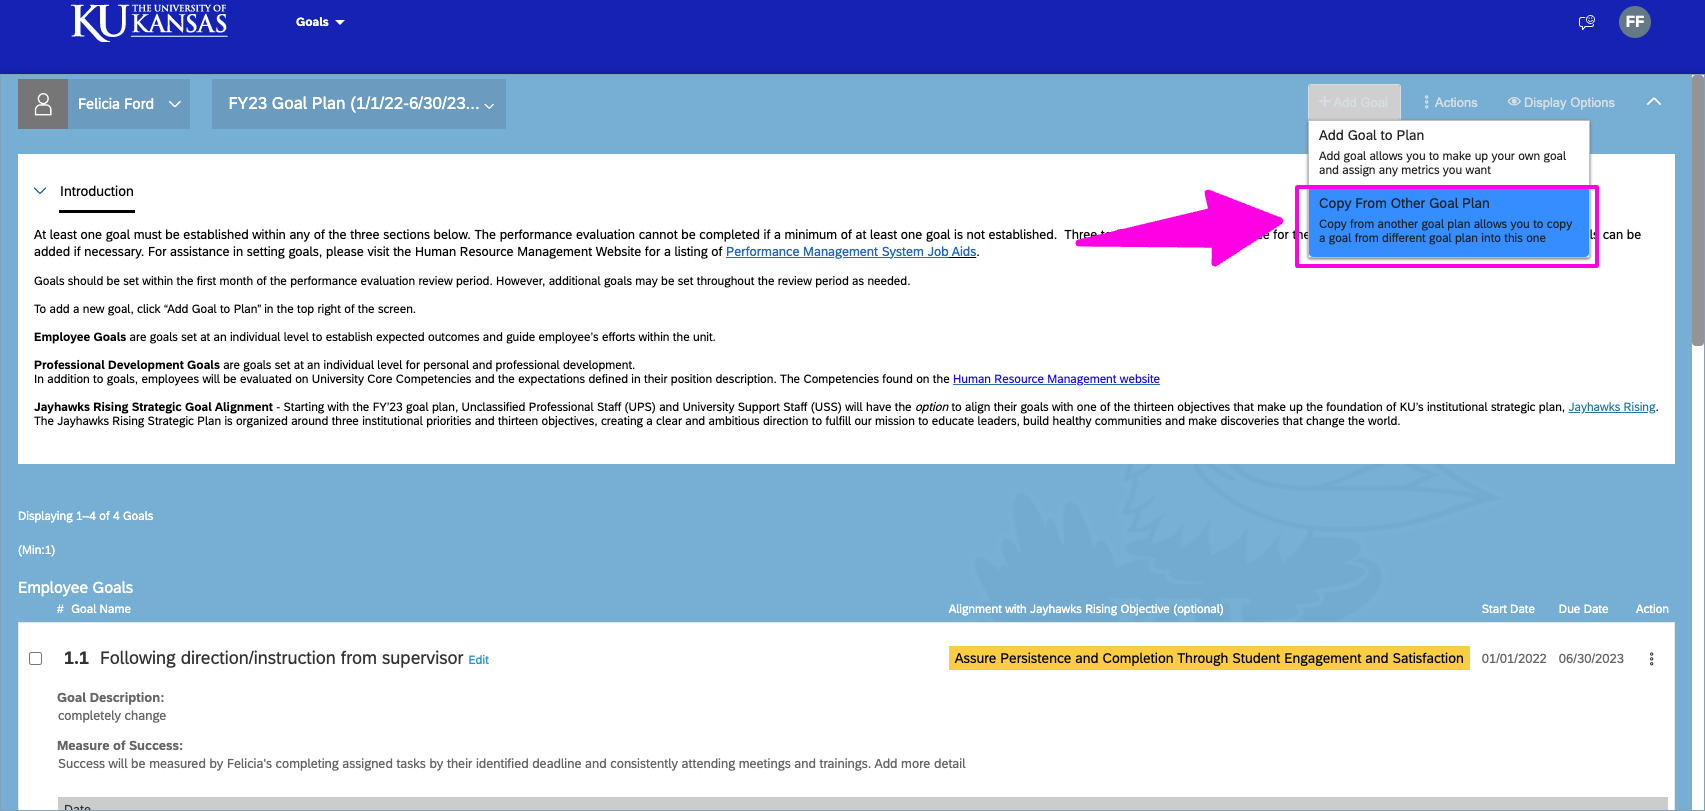
- Click Create Goal
- Click Copy from Goal Planselect Copy From Another Goal Plan
- Using the drop down pick the specific Goal Plan you want to copy from
- Click the Checkbox next to the goal you wish to copy, then click Next
- Optionally, click the Pen Icon to the right of the Goal Name to edit the goal before it is copied
- Click Next twice.Select goal checkbox then select 'Copy'
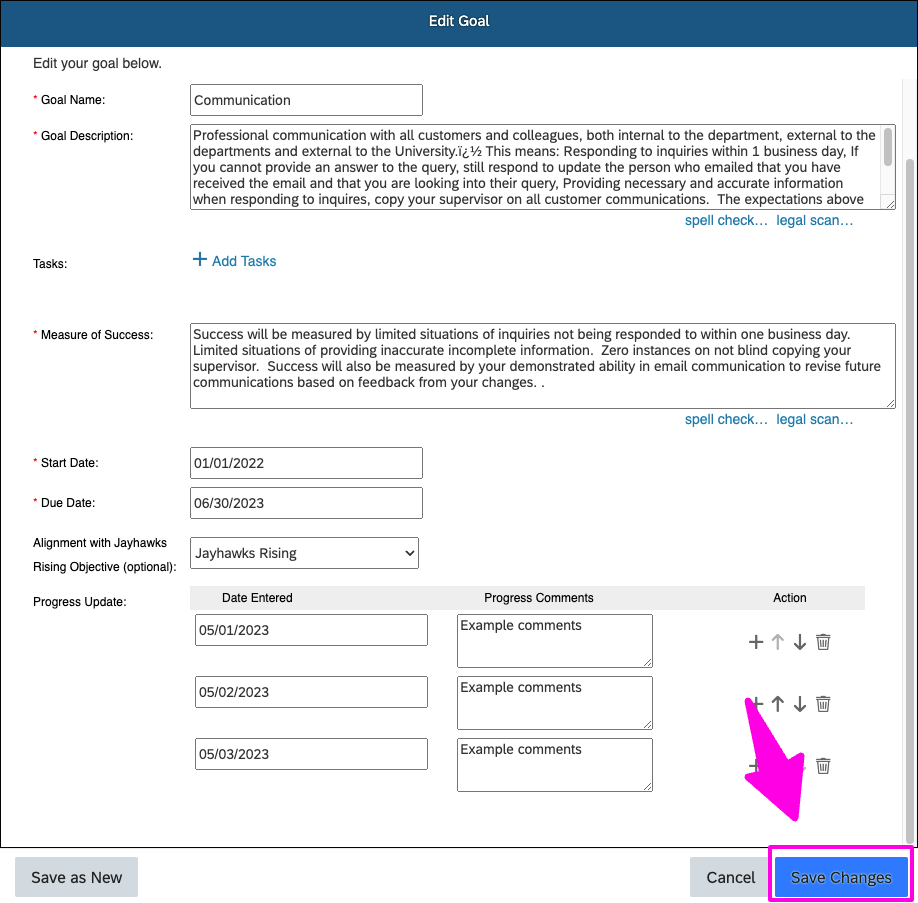
Edit Goals
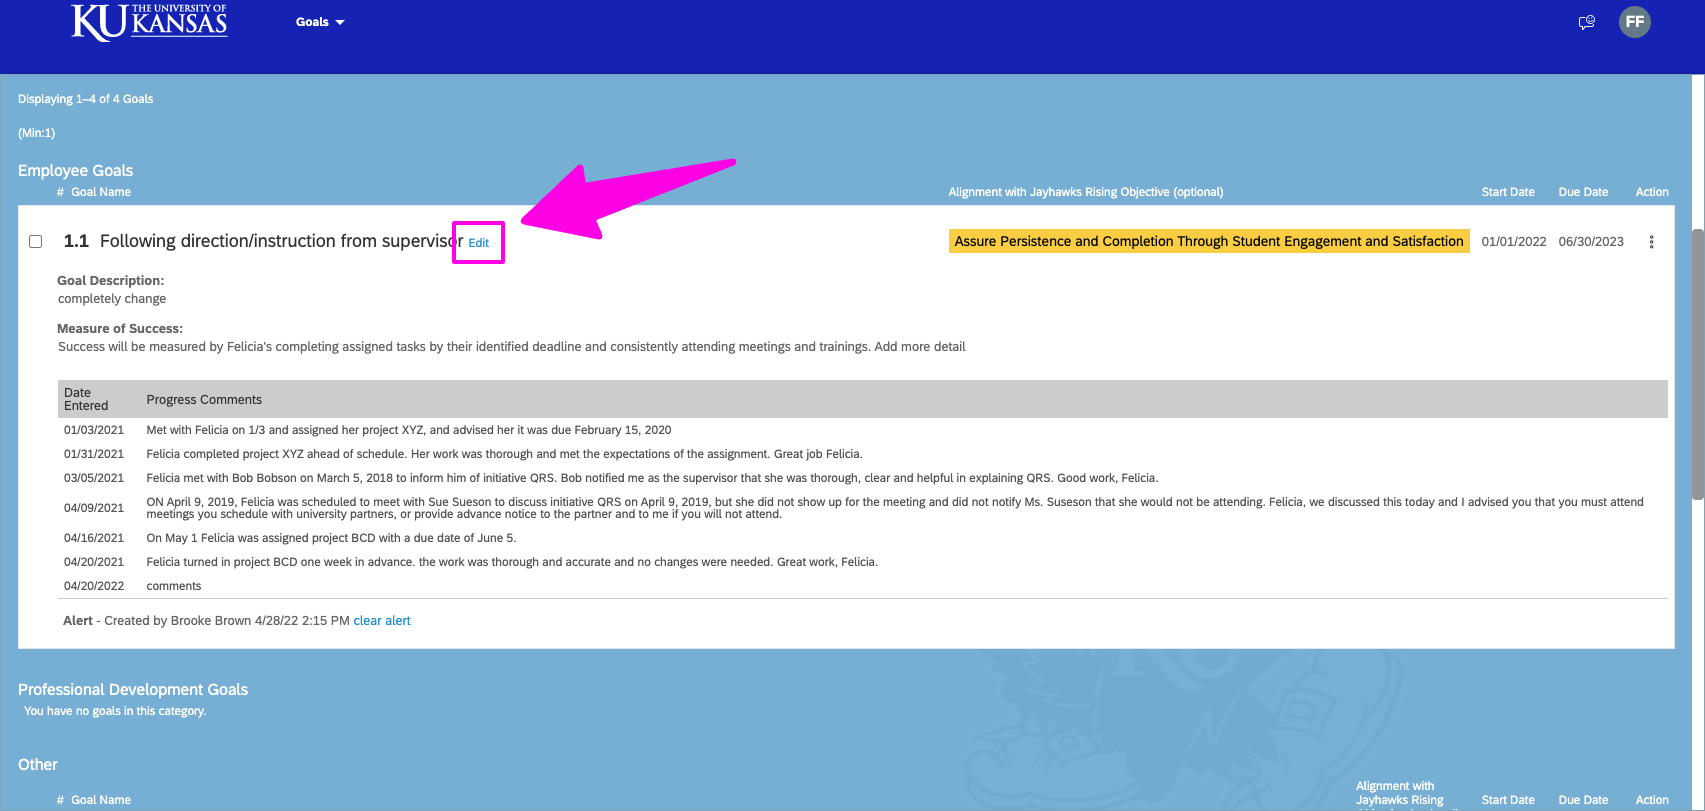
- Select the blue ellipsis (i.e. three dots)to the right of the Goal Name to select the option to edit Select blue edit link to right of goal name
- Make any necessary changes to any editable field (e.g., category, goal name, description, tasks, measure of success, dates)
- Select Save Select 'Save Changes'
Delete Goals
Employees do not have the ability to delete goals on their own goal plan. The employee must ask the supervisor to delete a goal.
How to Provide Progress Updates on Goals
Throughout the evaluation period, it is expected that the employee and supervisor provide progress updates and feedback on the established goals.
To provide progress updates:
- Select the Goal Name Select blue edit link to right of goal name
- To provide a progress update, select Manage Progress Update in theupper right. Select + Add Progress Update
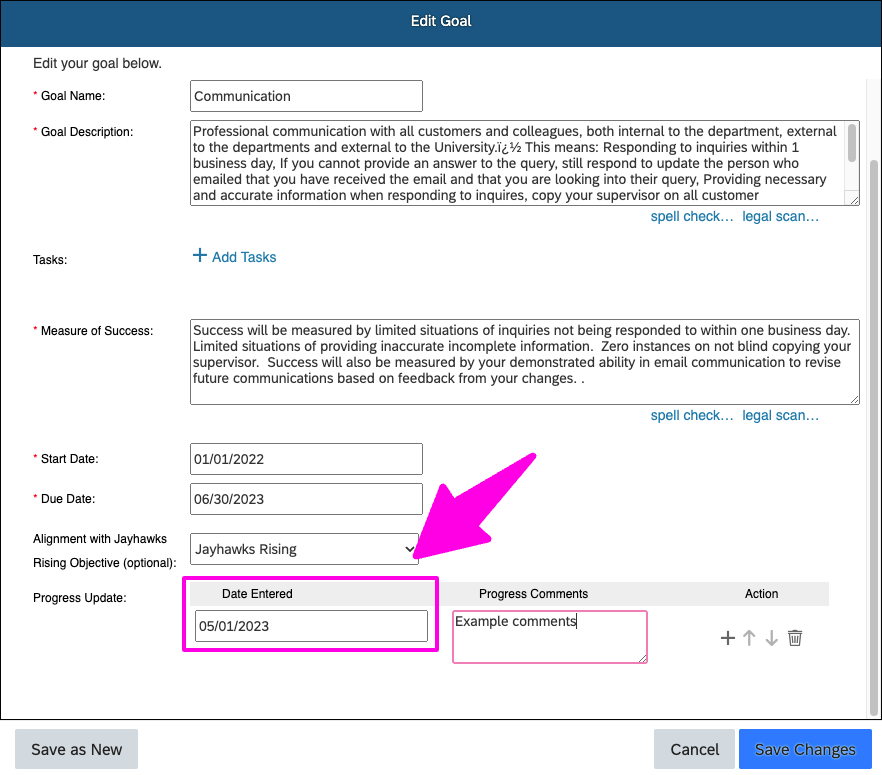
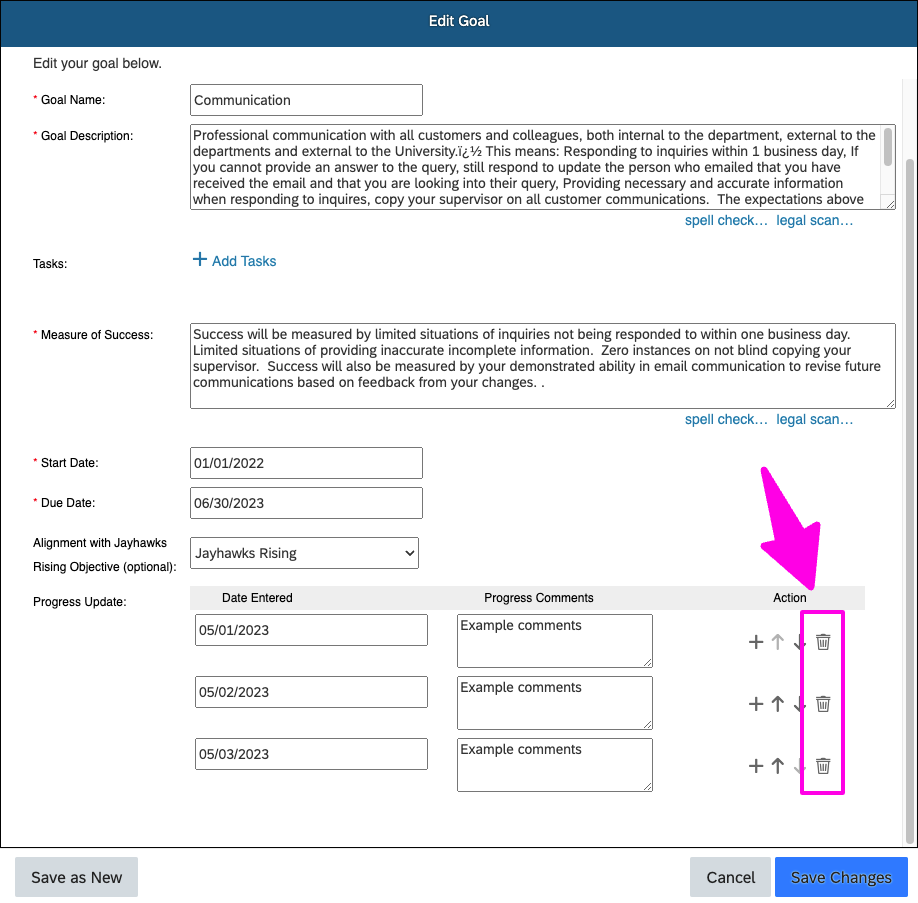
- Click Add Row
- Enter the date of the progress update in the Date Entered field Enter progress update date
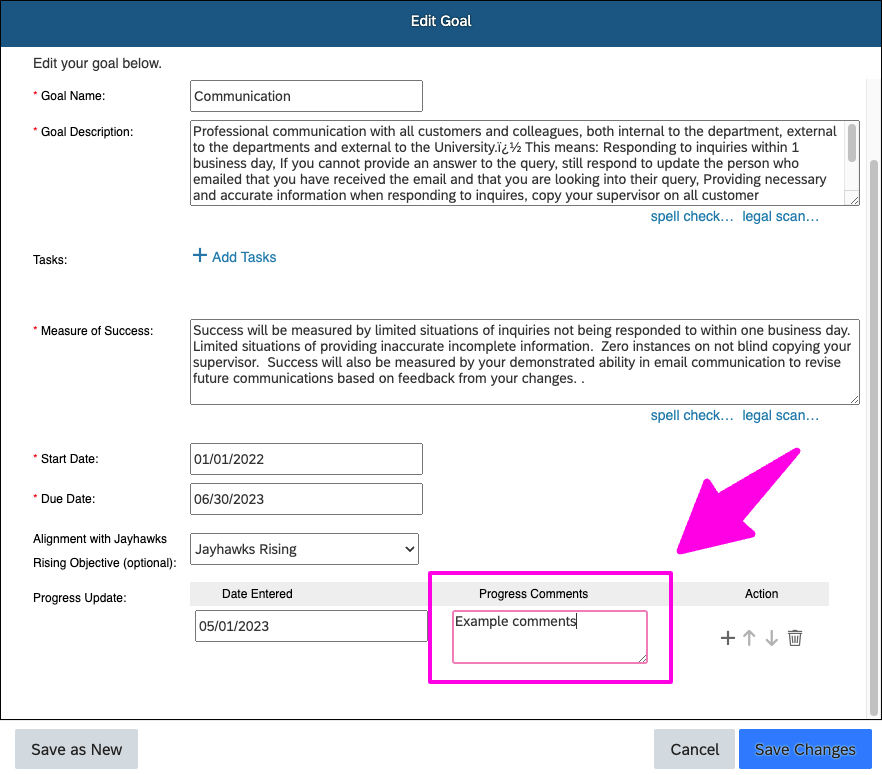
- Enter comments in the Progress Comments field Enter progress comments
- Comments may include:
- What the employee has accomplished thus far
- Any additional action neededDelete progress updates via red X button
- Comments may include:
- Select Save to save the progress update(s) and return to the Goal Plan Select save changes to save and return to Goal Plan
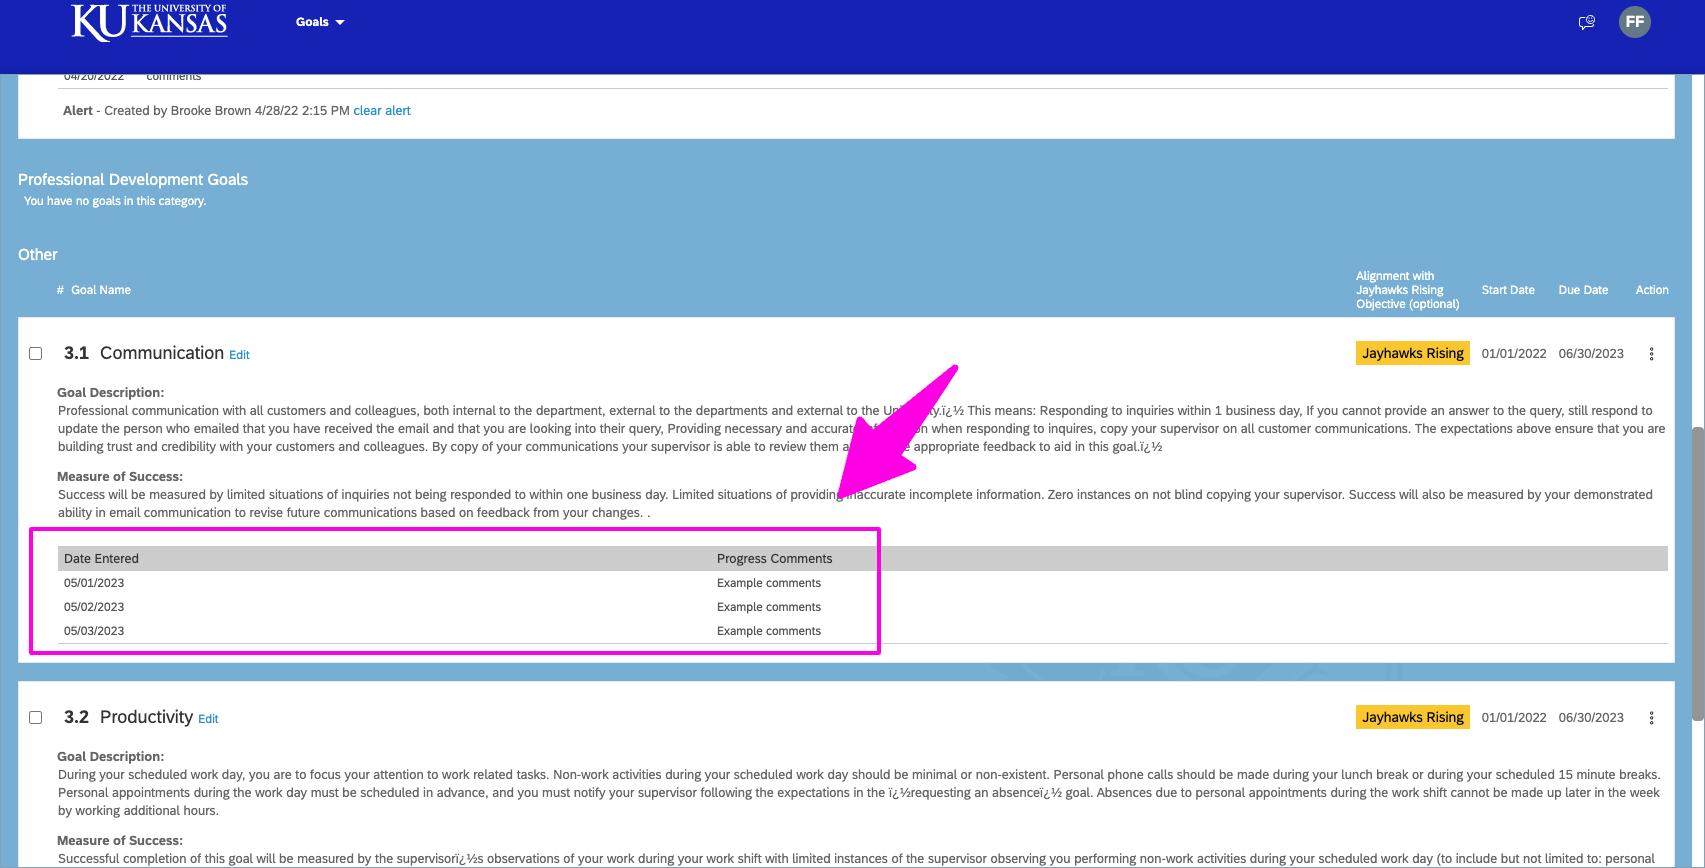
- The progress updates will appear on the goal within the Goal Plan Progress updates appear on Goal Plan
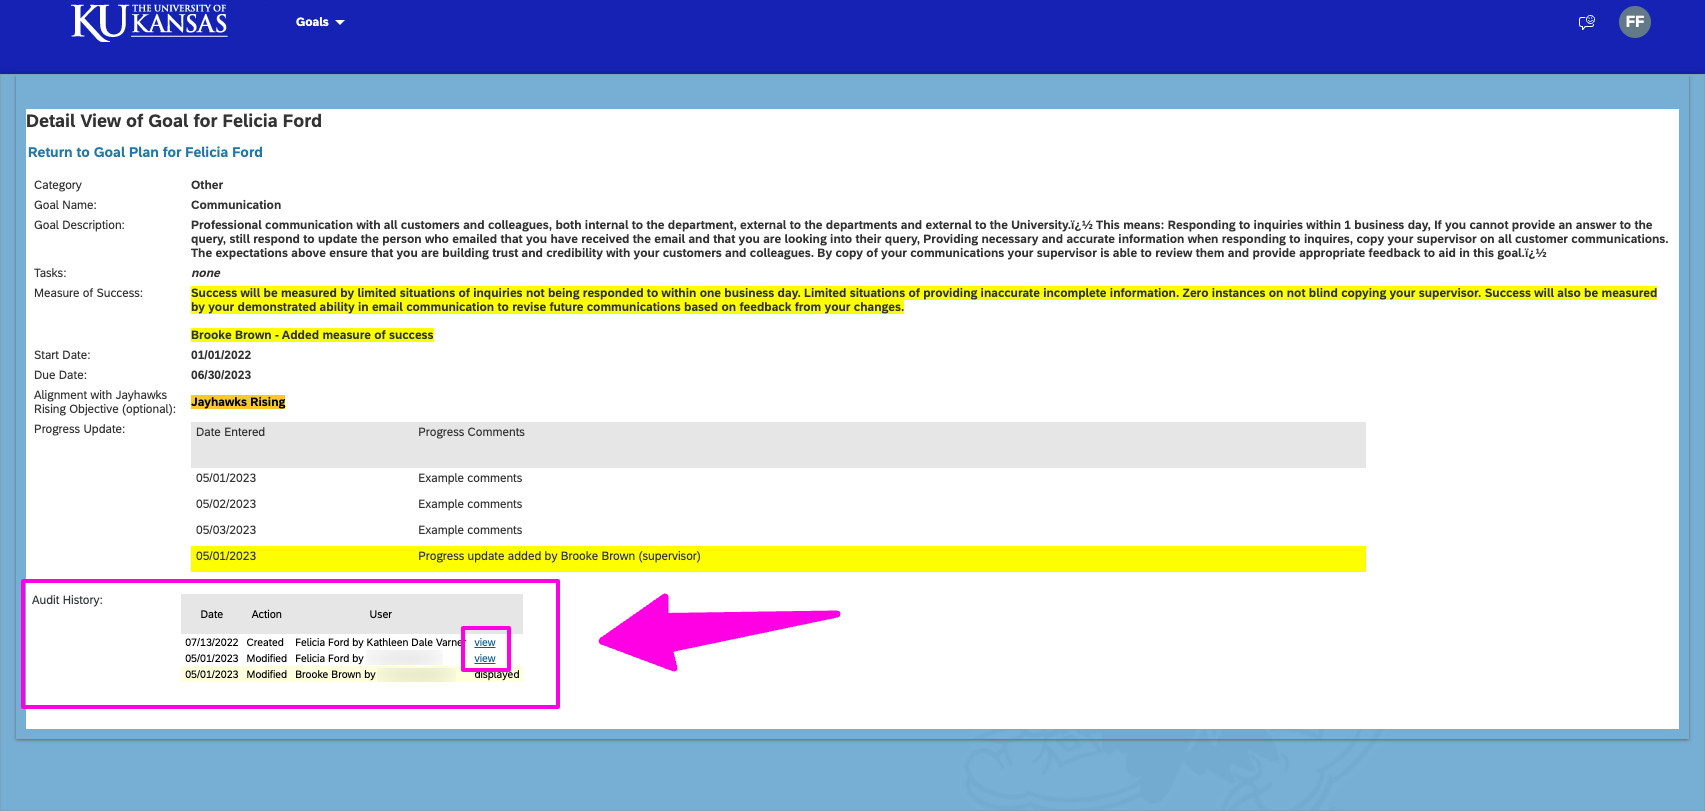
Review Goal Changes Made by Supervisor
When a supervisor makes changes to a goal the employee will receive an email notification and an alert will show up on the goal plan.
To view the changes that were made by the supervisor:
- Select the goal, scroll to the bottom and on the right side click Audit History.Select 'View Goal Detail' to see changes
- See the Audit History section for a history of goal changes Audit history
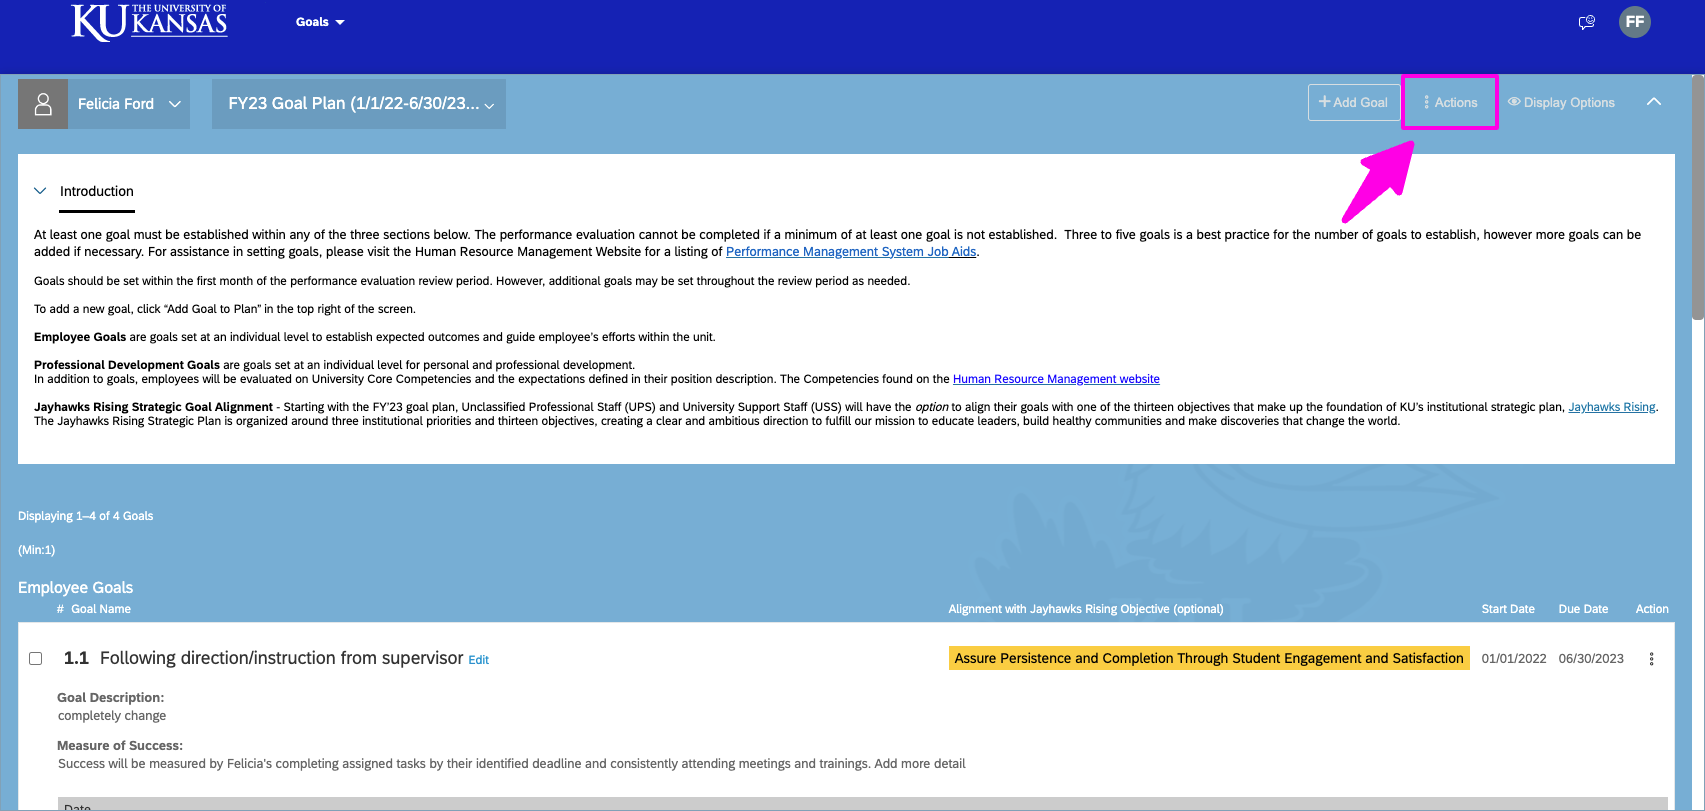
Additional Goal Plan FunctionsSelect checkboxes for display options
- Return to Goal Plan page
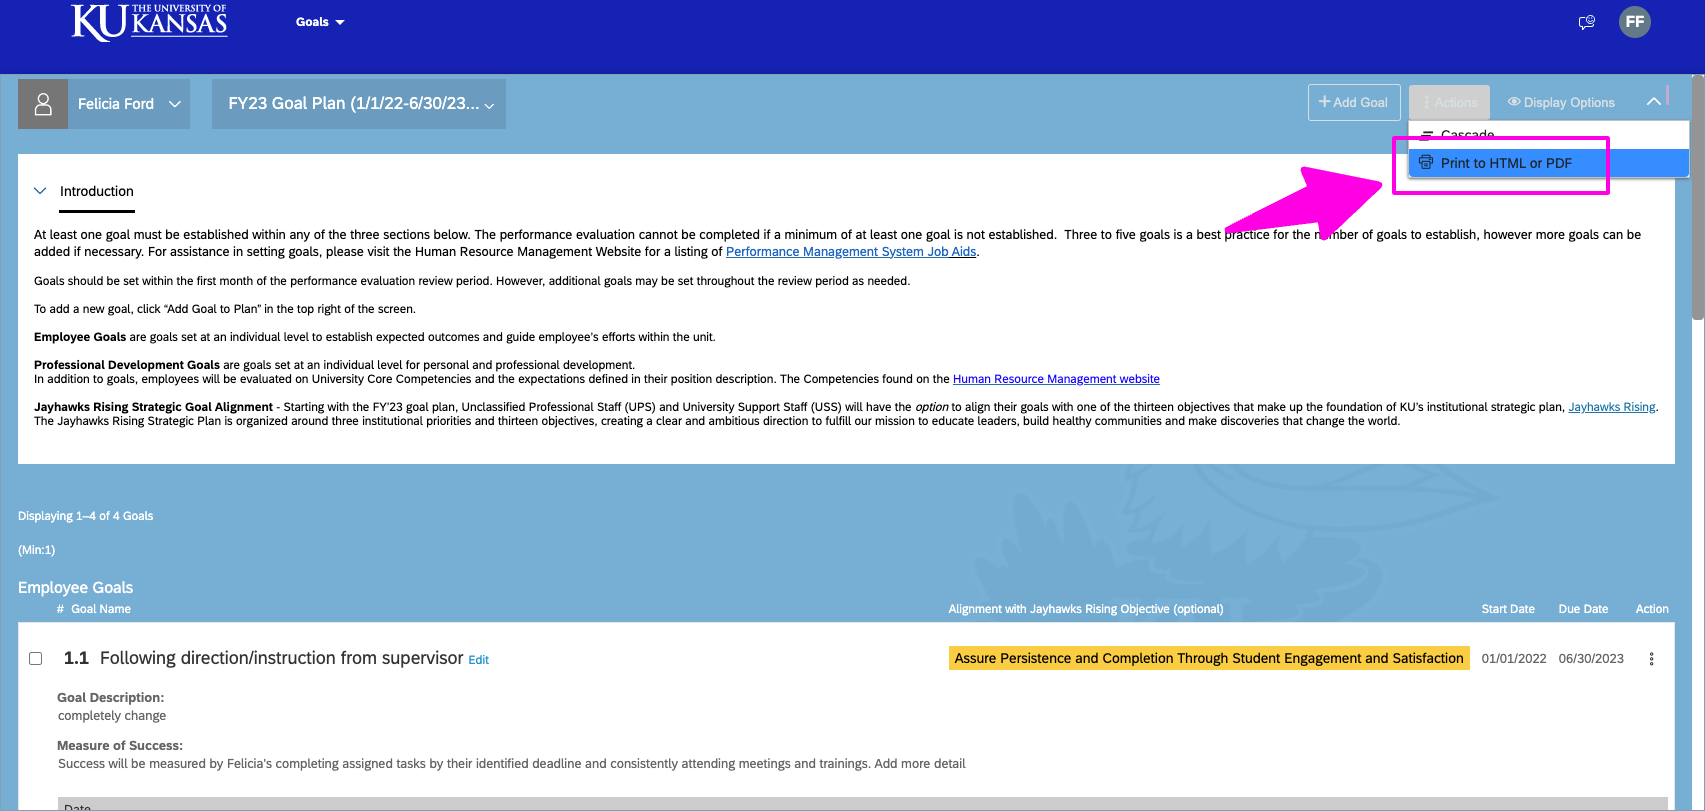
- To print the Goal Plan, selectthe print icon in the top-right Select ellipsis below 'Action' column in top-right
- Select the goals you wish to print, click Print
- Select Save as PDFelect 'Print to HTML or PDF'
- Save to your preferred location.